
Creating a family photo archive: How to preserve your legacy
Family photos aren't just pictures - they're shared memories, moments, and stories that hold your family history together. But if they're scattered across phones, laptops, memory cards, and boxes in the loft, they're incredibly vulnerable. Files get lost, devices break, and old formats become unreadable. And if future generations can't easily access or understand what they're looking at, those memories slowly fade away.
So in this biog I'm going to take you through practical tips for organising and preserving your family photos in a way that truly lasts. And make sure you read to the end - I've got a bonus tip that adds a layer of emotional context most families never think to include.
Why Your Family Photos Deserve a Central Home
One of the biggest issues I see with family photo collections is simple: they're everywhere. On phones, on iPads, on old computers that barely turn on, in WhatsApp threads, on Facebook downloads, in shoeboxes, in albums, on USB sticks ... the list goes on. When memories are scattered, they're at risk. Something as small as a lost phone or a corrupted drive can wipe out an entire era of your family's life. Bringing everything into one central home is the single most helpful thing you can do for long-term preservation. It doesn't have to be fancy - it just needs to be consistent. One main library where everything goes, whether that's on a computer, an external drive, or a cloud service you trust. It's not just about finding photos today - it's about leaving behind something future generations can actually navigate.
Step 1: Gather Everything into One Master Library
This is the part that takes time, but it's also where the magic happens - you start discovering forgotten photos, unexpected moments, and even entire chapters of your family history you didn't realise were tucked away in old devices. I always recommend a methodical sweep:
For digital check every phone in the house, including old ones stuffed in drawers. Look on tablets, old laptops, external hard drives, and especially any SD cards or USB sticks that are floating around. Don't forget cloud accounts - people often have photos scattered across Google Photos, iCloud, Dropbox, OneDrive, Amazon Photos, or apps they no longer use. And you'd be amazed how many precious photos are hidden inside WhatsApp or Facebook albums that no one ever thought to save elsewhere. As you collect everything, create one large folder for the whole family - something simple like "Family Photo Archive:' Inside it, make a temporary "To Sort" folder. Everything goes in here first. It doesn't have to be tidy yet. The goal is simply to gather every memory into one digital home.
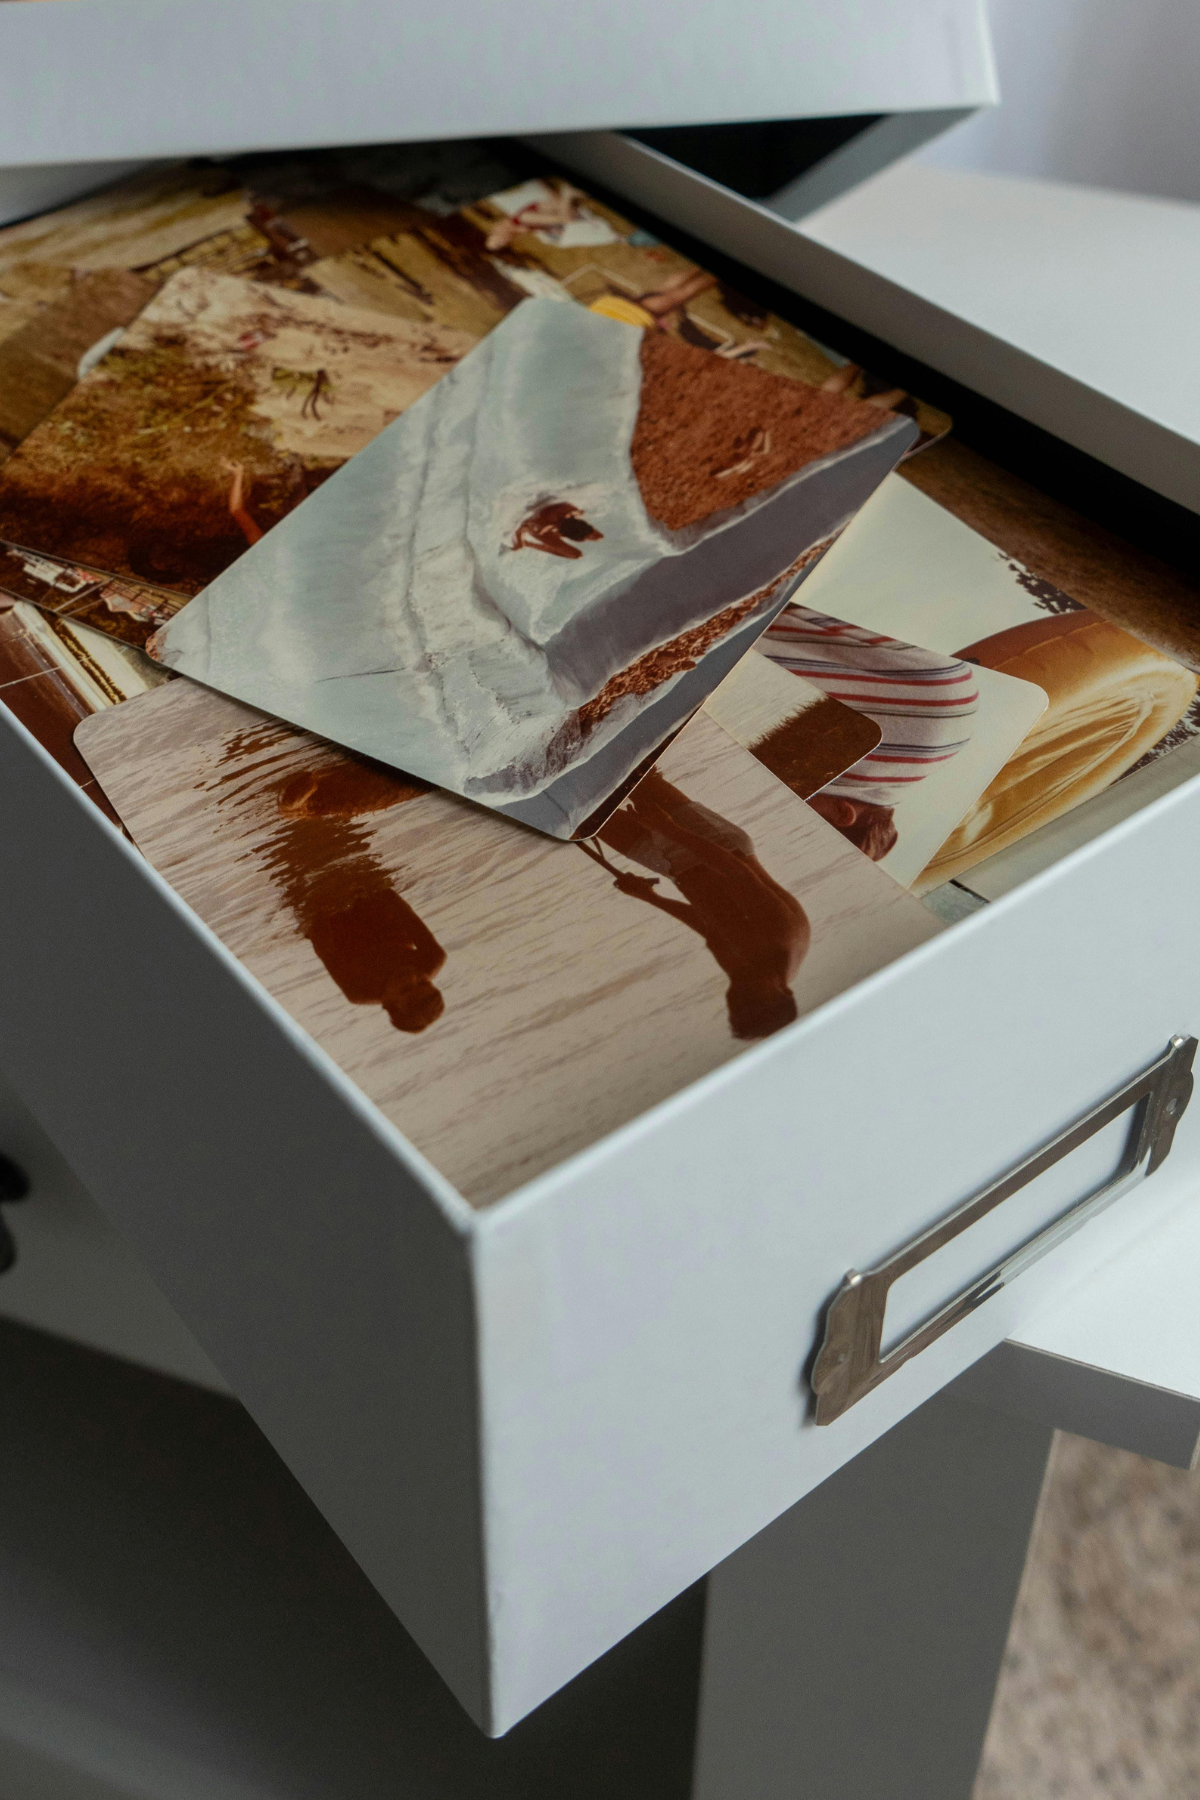
Then there Printed and physical photos they are just as important to gather at this stage because they often hold the oldest and most meaningful memories. You might have albums tucked away on bookshelves, envelopes of prints hidden in drawers, or loose photos sitting in old shoeboxes or cupboards. Don't worry about sorting them yet - the goal right now is simply to bring everything into one place so you can see what you're working with. As you collect them, make a quick note of anything that looks fragile, is stuck in magnetic albums, or shows signs of fading, because you'll want to prioritise those when you move into the preservation stage. Physical photos are a huge part of your family history, and gathering them early helps you plan how to digitise, store and protect them properly.
You'll be surprised how many "lost" or forgotten photos show up during this process.

Step 2: Create a Simple Structure That Future Generations Can Understand
Once everything lives in one place, the next step is to give your library a structure that will still make sense in twenty, thirty, or fifty years. Overly complicated systems often fall apart because they rely on one person remembering the logic. Instead, choose a structure the whole family can intuitively follow. Many families choose chronological organisation - by year, or even by decade for older photos - because time is a universal reference. Others prefer grouping by family branch, especially in larger families where collections span different households. Some people build their system around major life events: weddings, holidays, childhood years, family reunions, graduations, anniversaries.
Option A - By Year
Option B - By Decade
Option C - By Family Branch or Person
Option D - By Major Events
There is no single right answer - the right structure is the one that feels natural for your family. You can absolutely mix these depending on what feels logical for your family. Families are messy - your folder structure can reflect that. What matters most is consistency. Future generations shouldn't have to guess whether holiday photos are under "2020" or "Summer Break" or "Travel:' If you choose a system and apply it gently but consistently, your archive becomes easy for anyone to explore.
Step 3: Clean Up the Collection: Duplicates, Blurries & Bursts
Once your photos are gathered and lightly structured, it's time for an initial clean-up. This isn't a harsh cull. Think of it as clearing away the visual clutter so the real memories stand out. Start by removing true duplicates - the exact same image saved five times because it was shared through WhatsApp or you got duplicates prints of. Then deal with the obviously unusable images: photos of the inside of your pocket, five identical shots of the floor, accidental bursts where nothing is in focus, screenshots that don't hold any long-term value and ones with those little stickers on that say they are overexposed. You're not aiming for minimalism; you're just removing the noise that makes organising feel overwhelming. This first pass makes the upcoming steps feel lighter. The moment you reduce the chaos, you can finally see your real memories again.

Step 4: To Scan or Not to Scan
The next decision is whether you actually want to scan your physical photos - and this doesn't have to be an all-or-nothing choice. The advantage of scanning is it gives you a digital backup, protects fragile prints, and makes sharing with family really easy. The downside is that it takes time, and if you try to scan every photo you own, it can feel overwhelming. On the other hand, leaving photos unscanned is perfectly fine if they're stored safely, kept flat, and not showing signs of fading or damage. The good news is that you don't need to scan everything - focus on the most important, at-risk, or frequently used photos first. And when you do decide to scan, you can choose between phone apps like PhotoScan or PhotoMyne for quick results, or a flatbed or fast feed photo scanner for higher-quality digital copies. The choice is yours!
Step 5: Rename Photos So They Tell a Story
Now that things feel manageable, start giving your digital photos names that mean something. Most files arrive with names like IMG_3851.JPG or DSC00214 - which tell future generations nothing. When someone opens the collection in ten or twenty years, a filename like "1998 - Summer Holiday - Cornwall" instantly gives context. It tells you where you were, who you were with, and what was happening. You don't need to rename every photo individually - batch renaming tools make this much easier, check out Bulk Rename utility for the PC and a Better Finder rename for the Mac. But even updating just the major events, holidays or years creates a sense of clarity. Naming helps everyone understand the bigger picture. For printed photos, you can still add helpful details, but the approach is a little different so you don't damage anything. Divider cards work brilliantly if your photos are stored in boxes or envelopes - you can jot down names, dates, places, or quick notes and keep them grouped with each stack. If you prefer writing directly on the back of a photo, always use a soft pencil, because ink and markers can bleed through or leave permanent dents. A light pencil note is gentle, reversible and won't harm older prints or textured paper. Even adding small details like "Mum, 1979, Brighton" makes a huge difference when someone revisits these photos years from now. And remember, you don't have to label every single print - prioritise the ones with people, places or moments future generations may not recognise.
Step 6: Add Metadata, Tags and Keywords So Photos Stay Searchable
Names help, but for your digital images, metadata is the real gift you give to the future. Metadata is invisible information embedded inside the photo file - things like who's in the picture, where it was taken, what the occasion was, and any special notes. Unlike folders or apps, metadata travels with the image no matter where it goes. Imagine your grandchildren being able to type "Grandpa John" into their photo library and instantly see every photo of him that you tagged. Or searching "wedding" or "baby photos" or "family home" and finding whole chapters of your history at once. Metadata makes that possible. It doesn't have to be complicated. Even adding simple keywords like names, places, or important events will make your archive infinitely more valuable and searchable in the long run.
Step 7: Use Reliable Storage and the 3-2-1 Backup Rule
Once you've put all this care into organising your memories, you need to make sure they're safe. With digital technology changes, drives fail, and accidents happen. But for printed what you store your photos is so important, as choosing the wrong materials you can be slowly destroying those precious memories with acids in paper or harmful plastics.
So, for digital you need to use the 3-2-1 backup rule. You want three copies of your photos, stored in two different places, with one copy kept offsite. That could look like your main computer, an external hard drive, and a cloud backup. Or your computer, a NAS, and a drive stored at a relative's house. The idea is simple: no single point of failure should be able to wipe out your family history. When you have redundancy, your memories are protected for decades.
For your printed photo and memorabilia storage is very important as they're delicate. Heat, damp, sunlight and poor storage can damage them over time. Store printed photos in acid-free boxes or albums, keep them in cool, dry places, and avoid old magnetic albums Plastic photo-safe boxes are a great option if you want something sturdy, stackable and easy to label. Just make sure they're made from archival-safe materials like polypropylene, because regular plastic containers can trap moisture or release chemicals that damage prints over time.

Bonus Tip: Create a Family Memory Guide That Lives Beside the Photos
Now for that bonus tip and this is something I encourage every family to do, and it's one of the most meaningful things you can add to your archive. Create a simple document - it could be in Word, Google Docs, or even a Notes app - and use it to record the stories behind the photos. Write down who people are, how they're related, where the pictures were taken, what was happening, and any little details that bring the memories to life. Future generations may recognise the people they grew up with, but they won't necessarily know older relatives or family friends. They won't know why a certain house was special, or the story behind a holiday, or the reason someone always made that one particular dessert at Christmas. Your Memory Guide becomes the bridge between the photos and the people viewing them in the future. It turns images into a living family history.
So that's how to organise and preserve your family photos for future generations -gather everything into one place, clean up the clutter, name and tag your images, create meaningful albums, back everything up properly, and preserve your physical prints with care. And if you add a Family Memory Guide alongside your digital archive, you'll be passing down something truly priceless.
What Next?
Are you still struggling and don't know how to get started with photo organising? I have put together a simple straightforward quick start guide to organising your photos which you can find here.